The Complete Guide to Blacktop Driveway Installation
Installing a blacktop driveway is one of the most impactful home improvements you can make. For New Jersey homeowners from Newark to Wayne, from Elizabeth to Clifton, understanding the installation process ensures you get maximum value and longevity from your investment.
This comprehensive guide walks you through every aspect of blacktop driveway installation, from initial planning to long-term maintenance.
What is Blacktop? Understanding Your Material
Blacktop, commonly called asphalt, consists of: - Aggregate (95%): Crushed stone, gravel, and sand - Binder (5%): Petroleum-based asphalt cement - Temperature: Applied at 250-300°F for proper bonding - Composition grades: Vary based on traffic and climate needs
The specific mix for New Jersey typically includes: - Dense-graded hot mix for durability - Modified binders for temperature resistance - Local aggregates meeting NJDOT specifications
Pre-Installation Planning: Setting the Foundation for Success
#### Site Assessment Requirements
Before any work begins, professionals evaluate:
Soil Conditions: - Clay content (common in Essex County) - Sandy soil (prevalent in South Jersey) - Rock formations (North Jersey concerns) - Water table levels - Existing drainage patterns
Current Driveway Status: - Removal requirements - Base salvageability - Utility locations - Tree root interference - Property line verification
Access Considerations: - Equipment entry points - Overhead clearances - Neighbor notifications - Street parking permits - Material delivery routes
#### Permits and Regulations
New Jersey municipalities have varying requirements:
Typical Permit Requirements: - Building permit for new driveways - Curb cut permit for street access - Stormwater management approval - HOA approval (if applicable) - Historic district compliance
Municipal Variations: - Newark: Requires engineering drawings for slopes >5% - Elizabeth: Mandates permeable sections for lots >5,000 sq ft - Montclair: Historic district review required - Wayne: Specific setback requirements from property lines
The Installation Process: Step-by-Step Breakdown
#### Phase 1: Excavation and Removal (Day 1)
Old Driveway Removal: The first step involves removing existing materials:
- Breaking up old surface: Using excavators or jackhammers
- Loading debris: Into dump trucks for disposal
- Recycling: Old asphalt can be recycled (environmental bonus)
- Disposal costs: $300-800 depending on quantity
Excavation Specifications: - Depth: 8-12 inches for residential driveways - Width: 6 inches beyond finished edge - Slope: Minimum 1% grade for drainage - Compaction: Subgrade compacted to 95% density
Common Excavation Challenges: - Unexpected utilities (call 811 before digging) - Rock ledge requiring additional equipment - Poor soil requiring deeper excavation - Tree roots needing careful handling
#### Phase 2: Base Preparation (Day 1-2)
The base determines your driveway's longevity:
Sub-base Installation: 1. Geotextile fabric: Prevents soil migration 2. Aggregate placement: 4-6 inches of crushed stone 3. Grading: Creating proper slope for drainage 4. Compaction: Multiple passes with plate compactor
Base Course Application: - Material: Dense-graded aggregate base (DGA) - Thickness: 3-4 inches compacted - Compaction: 95% Modified Proctor density - Moisture: Optimum content for binding
Critical Base Requirements: - No organic materials - Uniform thickness throughout - Proper crown for water runoff - Stable edges with restraints
#### Phase 3: Blacktop Application (Day 2-3)
The main event requires precision:
Binder Course (First Layer): 1. Temperature check: Mix arrives at 250-300°F 2. Application: 2-3 inch thickness 3. Spreading: Using paving machine or hand tools 4. Initial compaction: Breakdown rolling
Surface Course (Final Layer): 1. Tack coat application: Ensures layer bonding 2. Final asphalt: 1.5-2 inch thickness 3. Finish rolling: Achieving smooth surface 4. Edge compaction: Hand tamping for clean edges
Quality Control Measures: - Core sampling for thickness - Density testing (92-96% of lab density) - Temperature monitoring throughout - Surface smoothness verification
#### Phase 4: Finishing Touches (Day 3)
Edge Work: - Installing Belgium block or concrete borders - Backfilling and grading adjacent areas - Applying edge sealer to prevent crumbling - Creating transition to garage floor
Surface Treatments: - Initial rolling for smoothness - Checking for proper drainage - Marking any utility locations - Installing reflectors if needed
Timeline Expectations: From Start to Finish
#### Standard Installation Timeline
Small Driveway (400-600 sq ft): - Day 1: Excavation and base prep (6-8 hours) - Day 2: Asphalt installation (4-6 hours) - Day 3: Finishing and cleanup (2-3 hours) - Total: 2.5-3 days
Large Driveway (1000+ sq ft): - Day 1-2: Excavation and removal - Day 3-4: Base preparation - Day 5: Asphalt installation - Day 6: Finishing work - Total: 5-6 days
Factors Affecting Timeline: - Weather conditions (no rain) - Soil conditions requiring stabilization - Access limitations - Decorative elements - Cure time between layers
Cost Breakdown: Understanding Your Investment
#### 2025 Pricing Structure
Basic Installation Costs: - Excavation: $1-2 per sq ft - Base preparation: $1.50-2.50 per sq ft - Asphalt application: $2-3 per sq ft - Total: $4.50-7.50 per sq ft
Additional Cost Factors:
Site Preparation: - Tree removal: $500-1,500 per tree - Utility relocation: $1,000-3,000 - Drainage installation: $500-2,000 - Retaining walls: $30-50 per sq ft
Premium Features: - Decorative borders: $15-25 per linear foot - Stamped patterns: Add $2-3 per sq ft - Colored asphalt: Add $0.50-1 per sq ft - Heated driveway: $12-18 per sq ft
Regional Price Variations: - Urban areas (Newark, Jersey City): +15-20% - Suburban (Montclair, Westfield): Standard pricing - Rural areas: -5-10%
Preparation Checklist for Homeowners
#### Two Weeks Before Installation
- Obtain necessary permits
- Notify neighbors of construction
- Arrange alternate parking
- Mark sprinkler systems
- Trim overhanging branches
- Clear driveway of all items
#### One Week Before
- Confirm installation date
- Review contract details
- Arrange payment method
- Plan for pets during work
- Protect adjacent landscaping
- Remove vehicles
#### Day Before Installation
- Final driveway clearing
- Turn off sprinkler systems
- Secure gates for equipment access
- Cover nearby windows (dust protection)
- Remove basketball hoops
- Check weather forecast
Weather Considerations for Installation
#### Ideal Conditions
Temperature Requirements: - Air temperature: 50°F and rising - Ground temperature: Above 40°F - Mix temperature: 250-300°F at delivery
Perfect Installation Weather: - Sunny days with moderate temperatures - Low humidity - No rain for 24 hours before/after - Light wind conditions
#### Weather Delays and Impacts
Rain: - Cannot install in rain - Need 24-48 hours drying after rain - May require base re-compaction - Extends project timeline
Cold Weather: - Below 40°F requires additives - Faster cooling affects compaction - May need multiple mobilizations - Higher costs for warm mix
Extreme Heat: - Mix may arrive too hot - Rapid cooling challenges - Worker safety concerns - May require evening work
Quality Indicators: What to Look For
#### During Installation
Professional Practices: - Consistent material temperature - Uniform thickness throughout - Proper joint construction - Smooth surface without waves - Clean, straight edges - Adequate crew size
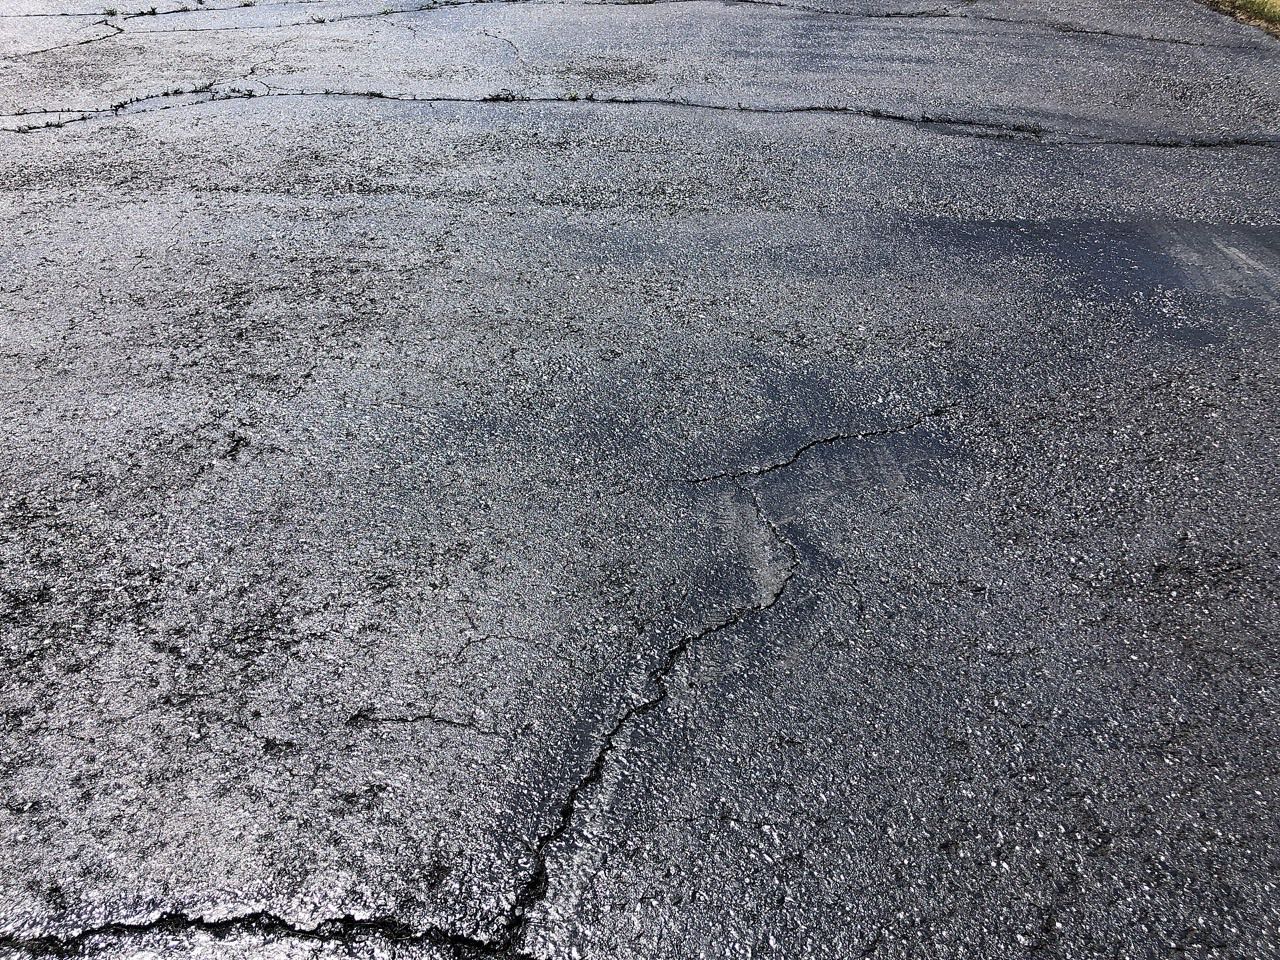
Red Flags: - Material smoking excessively - Rushed application - Inadequate compaction - Puddles forming on surface - Uneven thickness - Poor edge definition
#### After Installation
Quality Checkpoints: - No standing water anywhere - Smooth transitions to garage - Uniform color and texture - Proper slope (1-2% grade) - Clean edges without raveling - No roller marks or tears
First 30 Days: Critical Care Period
#### Days 1-7: Initial Curing
Do: - Wait 24-48 hours before driving - Park in different spots - Remove leaves and debris - Check for any issues
Don't: - Turn wheels while stationary - Park heavy vehicles - Use kickstands - Spill gasoline or oil
#### Days 8-30: Continued Curing
Permitted Activities: - Normal vehicle traffic - Regular parking - Light cleaning - Spot treatment of stains
Avoid: - Heavy trucks or equipment - Sharp objects - Harsh chemicals - Power washing
Long-term Maintenance Schedule
#### Year 1-2: Establishment Period - Monitor for settlement - Address any warranty issues - Keep surface clean - Document any concerns
#### Year 3-5: First Maintenance - Apply first sealcoat - Fill any minor cracks - Edge maintenance - Drainage evaluation
#### Year 6-10: Regular Maintenance - Sealcoat every 2-3 years - Annual crack filling - Address vegetation growth - Maintain proper drainage
#### Year 11-20: Preservation Phase - Consider resurfacing at year 15 - More frequent sealing - Pothole repairs as needed - Edge reinforcement
#### Year 20+: Evaluation Period - Assess for replacement - Major resurfacing option - Cost-benefit analysis - Planning for next driveway
Common Installation Mistakes to Avoid
#### Contractor Errors
Inadequate Base: - Insufficient thickness - Poor compaction - Wrong materials - Improper drainage
Application Mistakes: - Temperature too low - Rushed installation - Inadequate compaction - Poor joint construction
#### Homeowner Mistakes
Pre-installation: - Not checking references - Choosing lowest bid only - Skipping permits - Poor timing selection
Post-installation: - Using too soon - Improper maintenance - Ignoring early problems - harsh chemical use
Warranty Expectations and Coverage
#### Standard Warranty Terms
Typical Coverage: - Workmanship: 1-5 years - Materials: Manufacturer warranty - Structural integrity: 2-3 years - Surface defects: 1 year
What's Usually Covered: - Premature failure - Workmanship defects - Material defects - Improper drainage - Excessive cracking
What's Not Covered: - Normal wear and tear - Damage from abuse - Natural settling - Color fading - Acts of nature
Environmental Considerations
#### Eco-Friendly Options
Recycled Content: - RAP (Recycled Asphalt Pavement): 20-30% content - Recycled rubber: Improved flexibility - Warm-mix asphalt: Lower emissions - Porous asphalt: Stormwater management
Environmental Benefits: - 100% recyclable material - Reduced urban heat island - Lower carbon footprint than concrete - Local material sourcing
Technology in Modern Installation
#### Advanced Equipment
GPS-Controlled Paving: - Precise thickness control - Automated grade control - Reduced material waste - Consistent quality
Infrared Technology: - Joint heaters for seamless connections - Thermal imaging for quality control - Repair technology - Surface profiling
Frequently Asked Questions
Q: How long before I can drive on my new blacktop driveway? A: Wait 24-48 hours for regular vehicles, 5-7 days for heavy vehicles.
Q: Why does my new driveway look different from my neighbor's? A: New asphalt is black and will fade to gray over 6-12 months, matching aged driveways.
Q: Can blacktop be installed over concrete? A: Yes, if the concrete is stable and properly prepared, though removal is often better.
Q: What's the best time of year for installation in New Jersey? A: Late spring through early fall (May-October) provides ideal temperatures.
Q: How thick should a residential blacktop driveway be? A: Total thickness of 3-4 inches (2-2.5" binder + 1.5" surface) after compaction.
Making It Happen: Your Next Steps
Ready to install your blacktop driveway? Follow these steps:
- Get multiple quotes from licensed contractors
- Check references and view recent work
- Verify insurance and licenses
- Understand the contract completely
- Plan timing for minimal disruption
- Prepare your property properly
- Maintain properly from day one
Professional Installation You Can Trust
Randy's Seal Coating & Striping has installed hundreds of blacktop driveways throughout Essex, Union, and Passaic counties. Our certified installation teams follow industry best practices, use premium materials, and back our work with comprehensive warranties.
Call Call Randy to schedule your free consultation and get your blacktop driveway installation started the right way.
Ready to Protect Your Asphalt?
Get a free quote for professional asphalt maintenance and protection services. Our team is ready to help extend the life of your driveway or parking lot.